

 |
In association with SCAN.co.uk
Introduction
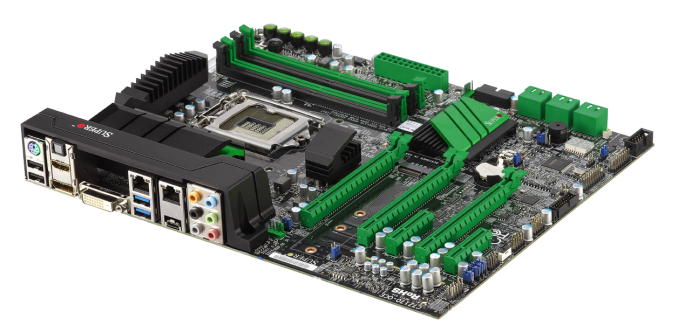
Biostar are a system board company that have been around for a long time, providing a wide range of motherboards for business and for the home computer. Let us face it they are known for a budget solution and are not well regarded for a high-range of system boards, that other manufacturers are know for. However all that is set to change with the new ‘Racing’ series of motherboards.
Why Biostar have been derided as a motherboard company by elite computer enthusiasts, we have no clue. Yes they are budget boards but ones that seem to be very reliable.