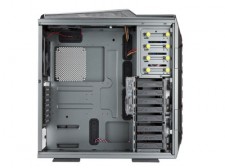
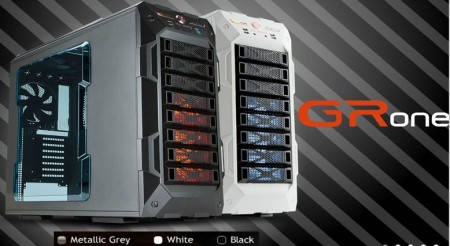
 IN WIN has recently released a brand spanking new, full tower chassis - the GRone. The GRone is available in white, black, or metallic grey colors. Today’s sample is the metallic grey version. IN WIN has certainly improved on their enthusiast line of cases over the past couple of years, so let’s see if the GRone continues the move forward for IN WIN.
About IN WIN
“IN WIN Development Inc., an ISO 9001 manufacturer of professional computer chassis, power supplies and digital storage devices, is the leading provider of enclosure solutions to system integrators worldwide. Founded in 1986, IN-WIN provides high quality chassis that conform to all safety regulations, as well as unsurpassed customer service.
In Win has become a leading, top-notch manufacturer of core technology in order to meet market and consumer needs and demands. Our company’s management team has laid a strong foundation in terms of eight major elements: Innovation, Service, Speed, Value, Safety, Warmth, Faithfulness, and Diligence. These elements help In Win to remain a leader in the business realm and also help differentiate us from our competition.”
Features
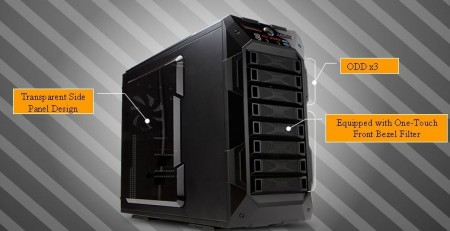
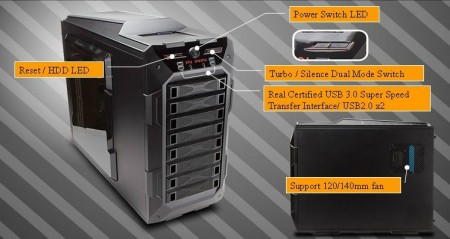
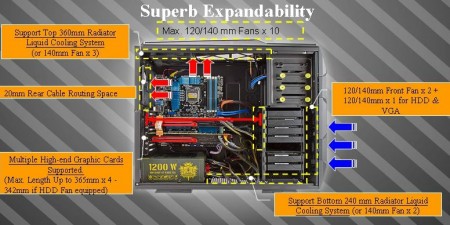
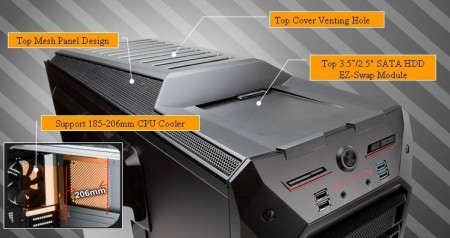
Below is a pictorial view of the main features of the IN WIN GRone chassis. We’ll dive into these in more detail as the review progresses; but for now, this will give you a general rundown of what the GRone has to offer. All images are courtesy of IN WIN.
 |
 |
 |
 |
 |
Specifications
Here are the specifications of the IN WIN GRone, also provided by IN WIN.
| Name | GRone |
| Case Size | Full Tower Chassis |
| Material | 0.8mm SECC Steel |
| Drive Bays | External 5.25” x 3 Internal 3.5” x 8 or 2.5” x 8 |
| M/B Form Factor | E-ATX (12” x 13”) / ATX / Micro-ATX |
| Power Supply | ATX 12V, PSII Size and EPS |
| I/O Expansion Slots | PCI-E / PCI / AGP Slot x 8 (Supports up to 365mm) |
| Front Ports | 1. USB 3.0 x 2 (Internal Connector) 2. USB 2.0 x 2 3. HD/AC’97 Audio 4. Fan Speed Controller |
| Top Ports | 3.5”/2.5” SATA HDD EZ-Swap x 1 |
| Thermal Solution | *Cooling Fan Supports up to Total 120mm or 140mm Fan x 10 (Different Regions May Carry Different Specifications) 1. Front: Supports up to 120 or 140mm Red LED Fan x 2 2. Rear: Supports up to 120 or 140mm Fan x 1 3. Side: Supports up to 120 or 140mm Fan x 1 4. Top: Supports up to 120 or 140mm Fan x 3 5. Bottom: Supports up to 120 or 140mm Fan x 2 6. HDD Cage: Supports 120 or 140mm Red LED HDD Fan x 1 *Water-Cooling 1. Top: Supports Water-Cooling Radiator up to 360mm 2. Bottom: Supports Water-Cooling Radiator up to 240mm (Bottom HDD Cage Must be Removed) 3. Rear: Water-Cooling Hole Ready |
| Dimensions (H x W x D) | 562 x 245 x 593mm (22.1” x 9.6” x 23.4”) |
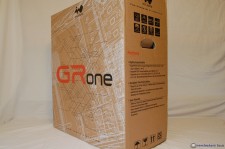
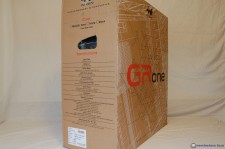
The IN WIN GRone comes boxed in the traditional way most cases are packaged now days. The graphics applied to this rendition appear to be engineering drawings, overlaid with the GRone logo and IN WIN branding. It’s not the most flashy box you’ll ever come across, but it’s what’s inside that counts! Both box sides give a run down on the features and specifications, much like what is listed above.
 |
 |
 |
 |
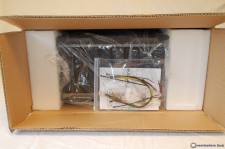
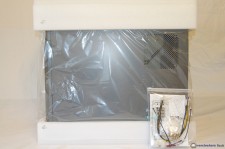
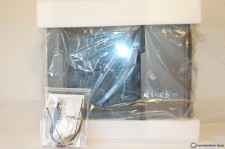
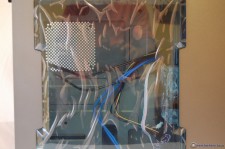
Once the box is opened, you are greeted with the accessories sitting on top of the case, enclosed in a thick plastic bag. It’s a small thing, but I really like the way the accessories are left outside of the case and not wired tied to the inside like most cases are shipped. More than once I’ve received chassis where the accessories have come loose and are left to rattle around the interior during the transportation phase. The standard fare Styrofoam blocks are used to secure the GRone in its container, and it’s then wrapped in the customary plastic bag. Another nice touch is the plastic film applied to the large window to keep it from getting scuffed during shipping.
 |
 |
 |
 |
Accessories
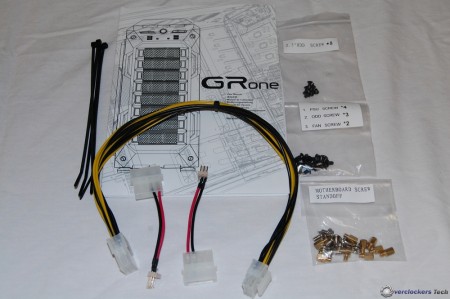
Included in the bag of accessories are the following items:
- 8-Pin to 8-Pin (4×4) ATX 12V1 Extension cable
- Four black wire ties
- Two 4-Pin Moles to 3-Pin fan adapter cables
- Three bags of installation hardware
- Users manual / installation guide
Another nice little bonus is that each of the bags of hardware are clearly marked as to what the contents are to be used for. This is much better than just throwing it all in one bag and leaving the user to sort it all out on their own. Again, it’s a small thing, but it’s a nice touch.
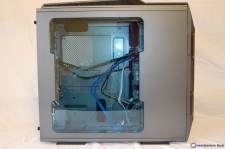
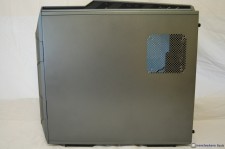
The exterior of the IN WIN GRone features a large transparent window on the left side. The window is tinted in what I can only describe as a light blue/smoke color. Embossed in the center of the window is a rather large “IN WIN” branding. It is not overbearing by any means, but it is noticeable. I’ve never been one to like large branding applied to a case, and perhaps this would have been best left off. Another option would have been to make it smaller and relegate it to one of the corners of the window. The right side of the GRone has a place to mount a 120 or 140 mm fan, something you do not see very often on the right side of cases. If it’s possible to mount a fan on the inside of the right panel, there must be a lot of room behind the motherboard tray for cable management; we’ll find out later.
 |
 |
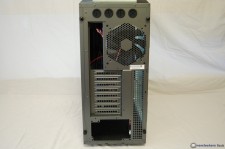
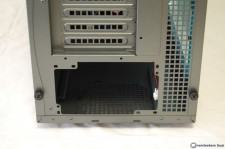
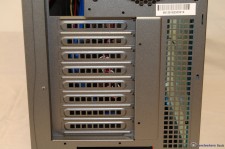
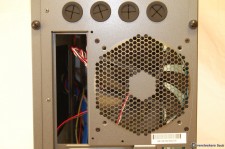
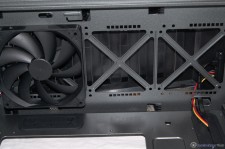
From the back area we can see the GRone utilizes a bottom mount PSU design, which is pretty standard now days. Four thumb screws are used to hold the two side panels in place, again standard fare. There is a good sized honeycomb mesh area to the right of the PSU opening that stretches to the midway point of the chassis. This will definitely allow unrestricted air flow out the rear of the case. There are eight PCI expansion slot covers that are all ventilated in design, again adding to the air flow properties. Moving upward, we find the 120/140 mm fan opening that has an included 140 mm fan installed. To the left of the fan is the opening for the motherboard’s I/O shield, and at the very top are four rubber grommet holes for an external water cooling system’s tubes to pass through.
 |
 |
 |
 |
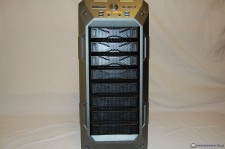
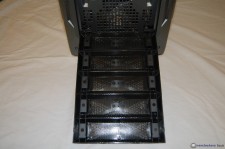
Moving around to the front panel of the GRone, we find an entirely filtered mesh design implemented here. The bottom five covers are actually all one piece and can be easily removed by pressing the top of the bezel. This will release it from the spring loaded latch built into the front panel. Once released, the bezel can be easily cleaned or rinsed off. The top three covers are removed by simply squeezing both sides towards the center and pulling straight out. In order to remove the front panel entirely, you must do so from inside the case with both side panels removed. There are three locking latches on each side of the front panel that must be depressed from inside, thus relieving the front panel from the chassis.
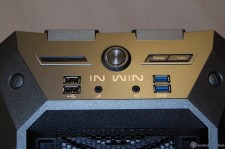
The very top of the front panel is where the GRone’s I/O connections are found. The big button in the center is, of course, the power on button; and just to the left of that are the HDD activity LED and reset button. To the right of the power on button is the fan controller switch. Sliding the switch left or right allows for Turbo or Silence Mode. The bottom of the I/O connection area has two each USB 2.0 and 3.0 connections, and the customary headphone and MIC jack.
 |
 |
 |
|
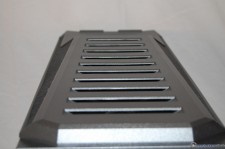
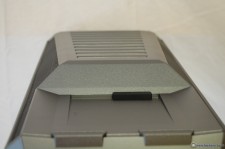
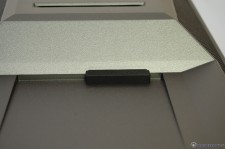
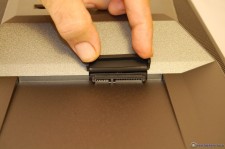
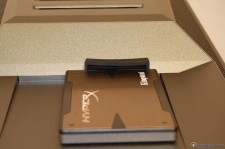
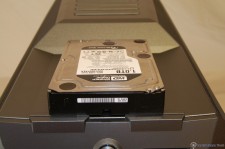
The top panel of the GRone has a grated ventilation look to it that encompasses about 3/4 of the panel’s length. The forward most section of the top panel is reserved for a SATA EZ-Swap Module, which will accept both 3.5″ and 2.5″ HDDs. Running the length of both sides of the top panel is yet another mesh area for even more unrestricted air flow.
 |
 |
 |
 |
 |
 |
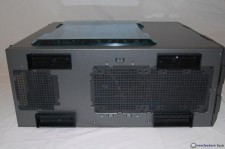
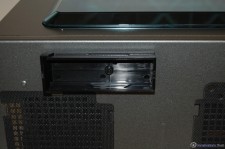
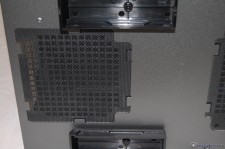
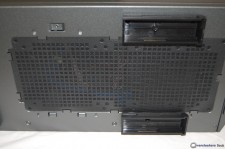
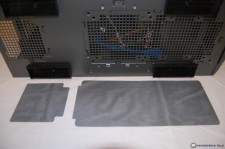
The last exterior area to explore is the bottom of the GRone. Here we find four plastic feet, which do not have rubber inserts. I much prefer some sort of rubber applied to the feet to help protect the surface the case sits on, and to aid in anti-vibration. There are two screen type filters located on the bottom’s forward and rear areas. The filters are easily removable for quick and easy cleaning. You will, however, have to tilt the case or lay it down to gain enough access to remove the filters. I think a slide-out design would have been better here.
 |
 |
 |
 |
 |
|
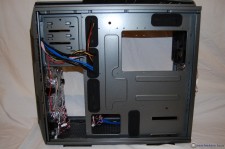
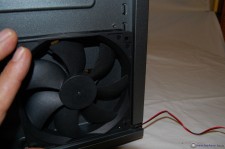
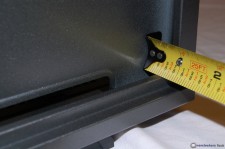
The interior tour begins with a look at the right side, behind the motherboard tray. There is a huge cutout area to access a CPU cooler’s mounting mechanism, which prevents having to remove the motherboard to change out a CPU cooler. You can also see from this view, the five well placed rubber grommet protected cable management holes. In addition to those five holes, there are two additional cable management holes, one just above where the PSU gets mounted, and another large square hole forward of the PSU mounting area. Remember the fan mounting option included on the right side panel? Well, I can tell you it fits between the panel and the motherboard tray just fine, or at least a 25 mm fan does. Once that fan is in place, it will be centered behind the CPU cooler access hole. With a tape measure, I come up with just a tad under 1 inch of clearance between the motherboard tray and the right side panel. This GRone case certainly does not lack for cable management options; that’s for sure!
 |
 |
 |
|
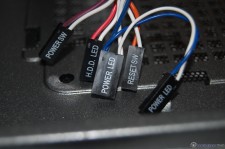
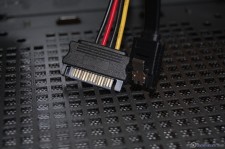
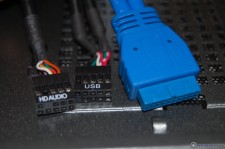
As we flip the case around to have a look at the inside, let’s begin by looking at the included wiring. The front panel switch connections are all present and accounted for, including a power LED lead that is double wired for both two pin and three pin applications. Additionally, there are the SATA power and data leads needed for the EZ-Swap, the USB 2.0 and USB 3.0 motherboard header cables, and the front panel audio connector cable.
 |
 |
 |
|
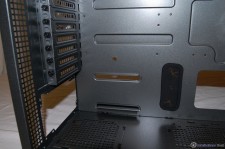
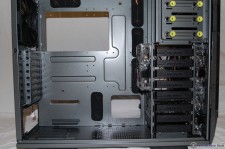
The interior is painted in the same metallic grey as the rest of the case, and being a full tower, has plenty of room inside. A full view of the interior again shows the abundance of cable management features built into the GRone. The GRone has the ability to accept CPU coolers up to 206 mm, a little over 8″. In addition to accepting the tallest of CPU air coolers, it can also accept four video cards up to 365.5 mm in length, just short of 14.5 inches. Hardly any worries about using any CPU cooler or video card!
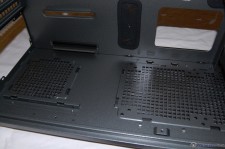
At the bottom PSU mounting area, we can see a top view of the filters and the support rails for the PSU to rest on. I usually like to see some sort of rubber on the PSU support rails to provide a certain level of anti-vibration. Moving upward along the rear of the GRone we can see the PSU opening, the eight ventilated PCI expansion slot covers, and the included 140 mm exhaust fan.
 |
 |
 |
|
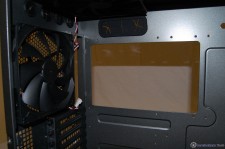
As we move our way to the top panel area, we can see an additional included 140 mm fan installed. There is plenty of room here for either a 3X120 mm or 3X140 mm radiator, along with 25 mm thick fans. I came up with 2.5 inches or 63 mm between the top deck and the edge of the motherboard. You won’t get the thickest radiators available up there, but there are plenty of options that will fit just fine. If you do install a triple fan radiator up top, it will protrude into the uppermost 5.25 drive bay. But, that is not an issue, as that particular bay is not usable for a 5.25′ drive because of the front panel I/O in front of it.
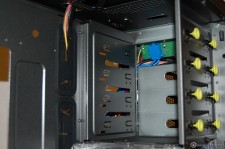
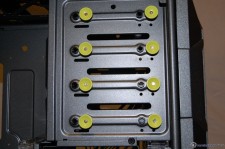
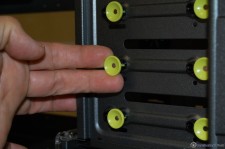
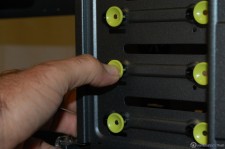
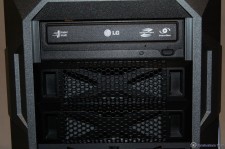
Moving over to the front area you can see what I mean about the uppermost 5.25″ drive bay being blocked by the front panel I/O controller. However, as advertised, there are still three more usable bays here. I suppose the uppermost bay could be used to house an additional HDD if you were to use a 5.25″ to 3.5″ adapter. Installing a drive in one of the 5.25″ bays couldn’t be any easier. You simply pull the yellow knobs outward, slide the drive in from the front of the case, and secure it by pushing the yellow knobs back in. There have been provisions made to further secure the drive with screws, if desired.
 |
 |
 |
 |
 |
|
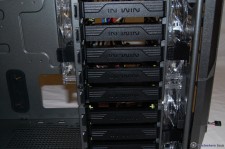
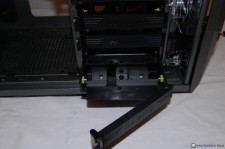
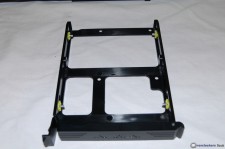
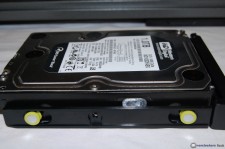
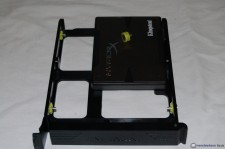
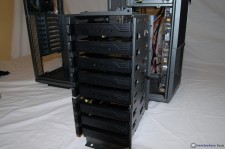
Continuing down the front side we come to the HDD cage area, which has a lot to discuss. There are eight slide out HDD trays that will accept both traditional 3.5″ HDDs and 2.5″ SSDs. The trays are pliable enough to allow you to simply place one side of a 3.5″ HDD in at an angle to engage two of the pins on one side of the tray. Then, lower the other side of the HDD and snap the other two pins in place. Simple, tool-less, secure, and works great!
 |
 |
 |
 |
 |
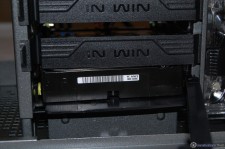 |
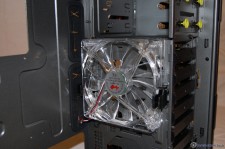
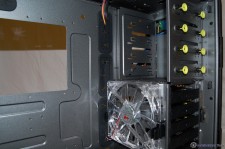
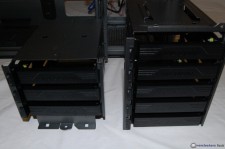
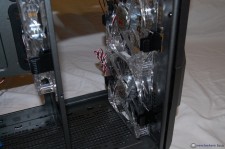
The HDD cage is made up of two pieces: the bottom holds three HDDs, and the top holds five. The complete assembly can be taken out by removing three screws. Once removed, we can see the three included LED fans that are arranged in a push/pull configuration across the HDD cage area. The two fans at the very front are wired into the controller at the front panel. The cages can be installed independently, so if you need room for water cooling pumps or reservoirs, the case can be set up to meet those needs. A 2X120 or 2X140 mm radiator can be installed along the bottom with the lower cage removed; and perhaps the same can be done along the front of the case with a little modification to the lower section of the 5.25″ drive bay housing. All in all, definitely a water cooling friendly case!
 |
 |
 |
 |
 |
|
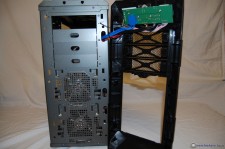
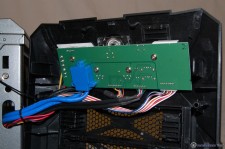
Finally, I went ahead and removed the front panel to have a look at the back side of the I/O controller. Everything is securely connected and the soldering points were well done; nothing to complain about here.
 |
 |
This case is still making its way to online retailers, but doing a bit of searching around, it appears it will cost roughly $159.00 USD. At that price, it will be hard to find a case that is more water cooling friendly than this one. Quite simply put, the IN WIN GRone is limited only by one’s imagination as far as water cooling goes. The GRone is very roomy inside, and it’s hard to imagine any CPU air cooler or video card that won’t fit. The cable management opportunities the GRone employs are more than ample, and should allow for an extremely clean looking build. The list of features just goes on and on. I have reviewed several IN WIN cases over the past year or so; and I can easily say this is their best effort to date.
If I was to nit pick, about the only problems I have with the case are the lack of rubber inserts for the feet and PSU mounting area, and that you have to either tilt or lay the computer on its side to remove the bottom filters. Other than those few things, it’s really difficult for me to find anything I don’t like about the IN WIN GRone.
If you are in the market for a case in this price range that is jammed packed with features, water cooling friendly, able to accept the largest of components, and is attractive in design, the IN WIN GRone definitely needs to be on your short list. It’s no secret that Overclockers Tech is a water cooling enthusiast review site, and as such, we really enjoy products that come across our review bench that cater to that aspect. For this reason, along with the value this case offers to both the water and air cooling crowd, it’s easy to give it our Gold Award!
 -Dino DeCesari (Lvcoyote)

 Posted in

