Packaging
The sample we received had been on rotation with other review sites and as such received a slight battering both internal and externally, however the essentials are there.
 |
 |
 |
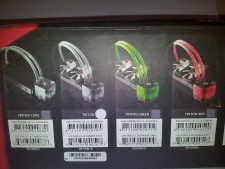 |
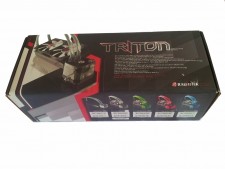
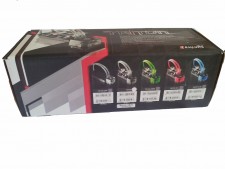
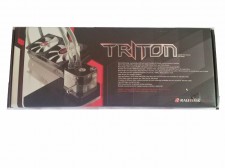
On its front is an image of the Triton with a myriad of differing features that sport a whole bucketful of supported CPU sockets. The back of the box is, again, covered with an image of the cooler, the same list of features, and all supported CPU sockets. The left panel shows all of the colours of the cooler, including that of the Triton ‘Core’ product.
We would have loved to have taken a photo of the internal packaging however due to the above not being in excellent condition we decided not to take a photo ,but instead move straight on to the first looks.
First Looks
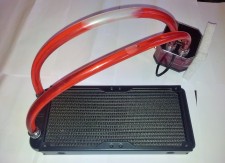
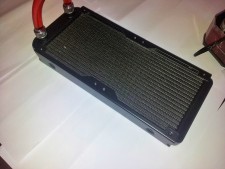
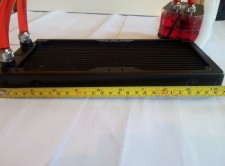
First thing we noticed when unpacking was the massive air bubbles within the loop, luckily Raijintek have included a fill port allowing the consumer to either top the system off or to replace the fluid. The Raijintek Triton sports a 240mm radiator. The radiator length is 260mm in length with a DTF (Distance To Fins) of around 3mm.
 |
 |
 |
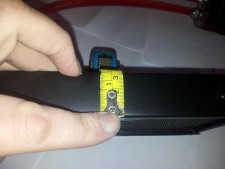 |
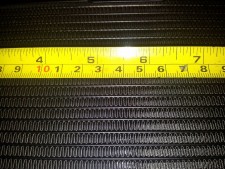
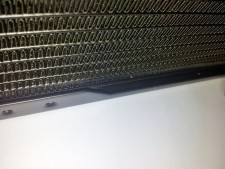
What is worth noticing is the FPI (Fins Per Inch) count is 22 and the thickness of the radiator is around 33mm in depth. The general rule of thumb is this the following; Thicker radiator less FPI is needed and therefore less air that needs to be pumped out by the fans, however the thinner the radiator the higher the fin count and as such more powerful fans are needed.
Below shows the aforementioned fin count and the distance to the previously mentioned fins. What is really noticeable are the rods that have been placed inside the radiator to protect the product from being punctured from screws that are too long, what a nice simple touch there.
 |
 |
 |
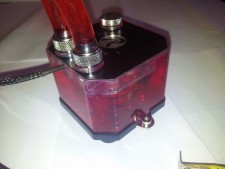 |
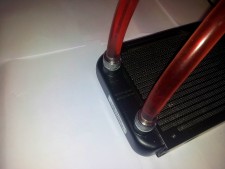
The compression fittings, whilst look fine would have been better if t hey were black in order to match with the rest of the kit. The quality of the fittings however are of a reasonable standard for an all in one kit and they do indeed firmly hold the tubing. However what really irks us is that the fittings themselves are glued into place. Raijintek stipulates that this is to prevent people from messing about with it, however that is the whole point as it is advertised as an EXPANDABLE all in one solution. For this issue alone we have to lower the scores by four points, as it is really not acceptable!
 |
 |
 |
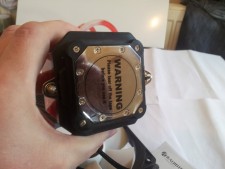 |
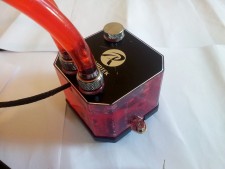
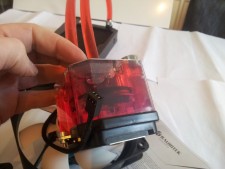
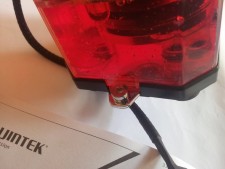
The final two photos (above) show the mounting bolts, of which will be screwed onto the motherboard framework in order to affix the main reservoir, pump and CPU block. Here we have the underside of the aforementioned together with a protective label. Other review sites will comment on how shiny it is, however the more ‘aged’ of water cooling and overclocking enthusiasts will say ‘shininess’ is not conclusive to being flat. With the latter in mind we at Overclockers Tech will be testing for efficient contact/pressure which we feel goes that ‘extra’ mile for our readers that nobody else will do.
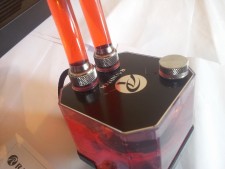
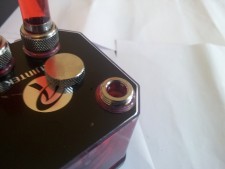
The first two images displayed below, give an indication of where the inlet port of the whole system is, which makes a refreshing change one can change the default liquid and use a fluid that has better performance.
 |
 |
 |
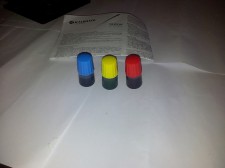 |
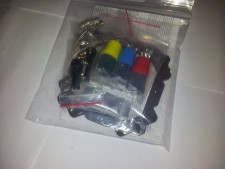
The above photos show the mounting components and instructions on how to fit the above. We have heard that some people have had issues with the installation, however whilst the instructions are not eye-catching they ARE comprehensive and as such even a ‘PC-World’ employee could quite easily put together this product. Lastly Raijintek have seen fit to include ‘dye packs’ of the usual RGB variety also that is nice little extra and does lend a great deal towards the package as a whole.
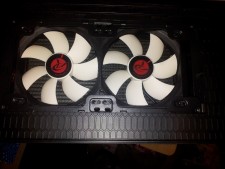
Below are the fans used within the Triton product, now in the first instance let us tell you they are loud and shift a lot of air-well after all they are of the 2600 RPM variety.
 |
Let us move on to the installation and testing of the Raijintek Triton shall we?


 Posted in

