Internal Tour
Normally on cases such as this we do an internal tour and then if possible a build. Instead we shall attempt a more overall approach and inform you of our thoughts as we assemble the computer.
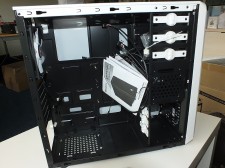
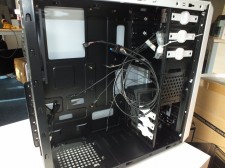
Undoing the side panel is as easy as pie, just unscrew two thumbscrews and away you go. Here we are presented with a surprisingly good looking interior-given its price range.
 |
 |
 |
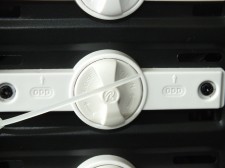 |
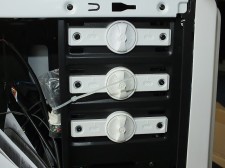
The tool free drive bays are pretty much standard these days and that should be no surprise here also.
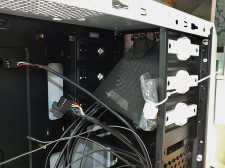
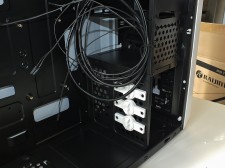
The first photo below shows that there is no room for a radiator to be placed here, only a couple of fans. This lends credence of what we were describing earlier . Drilling holes in the back does not make it a ‘water cooling ready’ case and such despite its price we shall knock off a small point for trying to fool us
 |
 |
 |
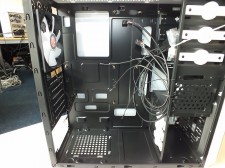 |
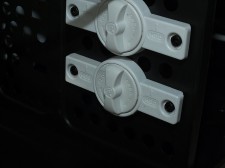
The rest of the above images show the locking bays for the hard disk drives, with the former also being tool free. The final photo shows the basic wire management holes, with the rather unusual placement for the CPU EPS power lead as this would mean the former will have run along on the underside of the motherboard. For the rest of the management expect no frills-given the price point of this product.
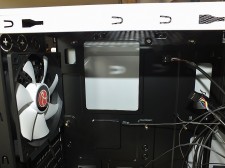
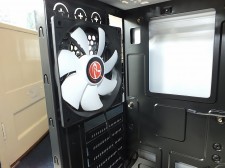
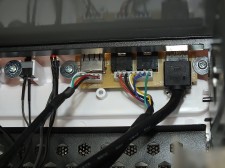
Below the first photos show the CPU waterblock/Heatink removal hole, followed by the only 120mm present within the system, serving as the exhaust fan. Following on from this we have the printed circuit board for the top panel and looking at this one cannot help but get the feeling that is made very cheaply and looks a little non-durable to us. Raijintek could do with a small upgrade here-even if it means raising the price a little.
 |
 |
 |
 |
 |
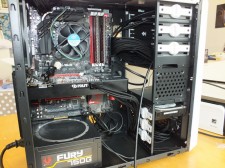 |
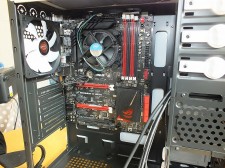
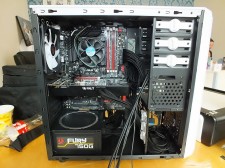
The final set of photographs show the installation of various components within the case. One thing that did alarm us during installation was the whole back plate of the chassis, as when installing the system board the former started bowing out alarmingly when pressure form the motherboard mounting was forced upon the IO shield and as such the back plate had to take the strain. We have never seen this in a chassis before and could be a cause for worry! In all honesty the rest of the installation proceeded as normal, however just do not expect any frills’ in this ‘ALDI’ supermarket- like case.
Let us move on to the conclusion of this review and sum up our thoughts and feelings on the matter.


 Posted in

